Repotting is one of those tasks every indoor gardener hears about, but it can feel intimidating if you’ve never done it. Yet it’s also one of the most important activities for keeping houseplants healthy. Over time, even the best soil breaks down, compacts and loses its structure. Roots eventually fill the pot, leaving little room for fresh growth. By repotting at the right moment with a high-quality mix, you refresh the plant’s environment, improve drainage and ensure roots have the space and oxygen they need to thrive.
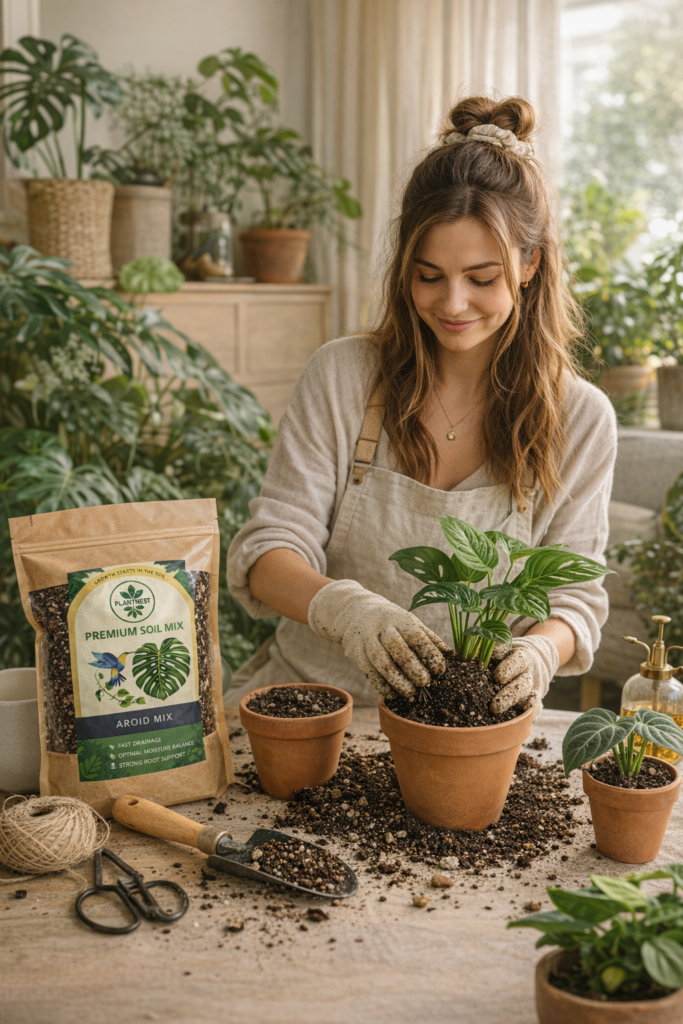
This guide walks you through everything you need to know about repotting: when to repot, how to tell if your plant is ready, what tools and materials to prepare, and a detailed step-by-step process. It explains why choosing the right substrate – such as plant-specific mixes from PlantNest – makes repotting simpler and gives your plants the best start in their new home. By following these tips, you’ll gain confidence and help your plants flourish after each repotting session.
Why repotting matters
Houseplants live in a limited environment. Over months and years, soil particles degrade, break down and become dense. Water may struggle to drain properly; roots get less oxygen and nutrients. Even if you fertilize regularly, a compacted mix cannot deliver these inputs effectively. Fresh soil improves aeration and moisture balance, which supports strong root development and bigger, greener leaves. A quality substrate supplies nutrients more predictably and makes watering easier to manage. Repotting also allows you to remove exhausted soil, inspect roots for health issues and provide a larger pot if needed.
Plant-specific mixes enhance these benefits. Forest-floor species such as Monsteras, Anthuriums and Calatheas require substrates that hold consistent moisture while staying airy. Desert plants like cacti and succulents need fast-draining, mineral-rich mixes. Using the correct soil ensures roots experience the right balance of water, air and nutrients, reducing the risk of root rot or dehydration.
When to repot
Repotting is not something you need to do every few months. Most houseplants benefit from fresh soil roughly every 12 to 18 months. This timeframe gives roots time to fill the pot and the mix time to age but not degrade completely. Spring and summer are ideal because plants are actively growing and re-establish quickly. Repotting during winter is possible if your plant receives extra light and warmth, but growth tends to be slower.
Certain situations may require repotting sooner. If you spot poor drainage, compacted soil, or a root-bound plant, don’t wait for the calendar. A quick check before watering can reveal whether repotting is needed. When the pot is visibly top-heavy, roots are growing through drainage holes, or the plant lifts itself out of the pot, it’s time to act. Fast-drying soil, slow growth despite proper care, or soil that looks compacted also indicate that the mix is no longer working. Circling roots around the edge of the root ball are another clear sign. If several of these symptoms occur together and growth has slowed, repotting will give the plant a fresh start.
Choosing the right pot
Pots come in different shapes and materials, but a few rules apply to almost all plants. First, always choose a pot with drainage holes. Water needs a way out; otherwise, it stagnates in the bottom and suffocates the roots. Select a pot that is 2 to 4 centimetres wider than the current one. A pot that is too large holds excess moisture, while one that is too small restricts growth. You can place a simple nursery pot inside a decorative cover pot if you like, but remove the inner pot when watering and let excess moisture drain away.
Materials matter less than size and drainage. Plastic nursery pots are lightweight and easy to squeeze when removing a plant. Terracotta pots are breathable, helping soil dry more quickly but requiring more frequent watering. Ceramic pots are decorative but often heavier. Whatever you choose, ensure there’s enough space for new roots and the crown of the plant (where stems meet the root system) sits at soil level when the pot is filled.
Preparing the soil mix
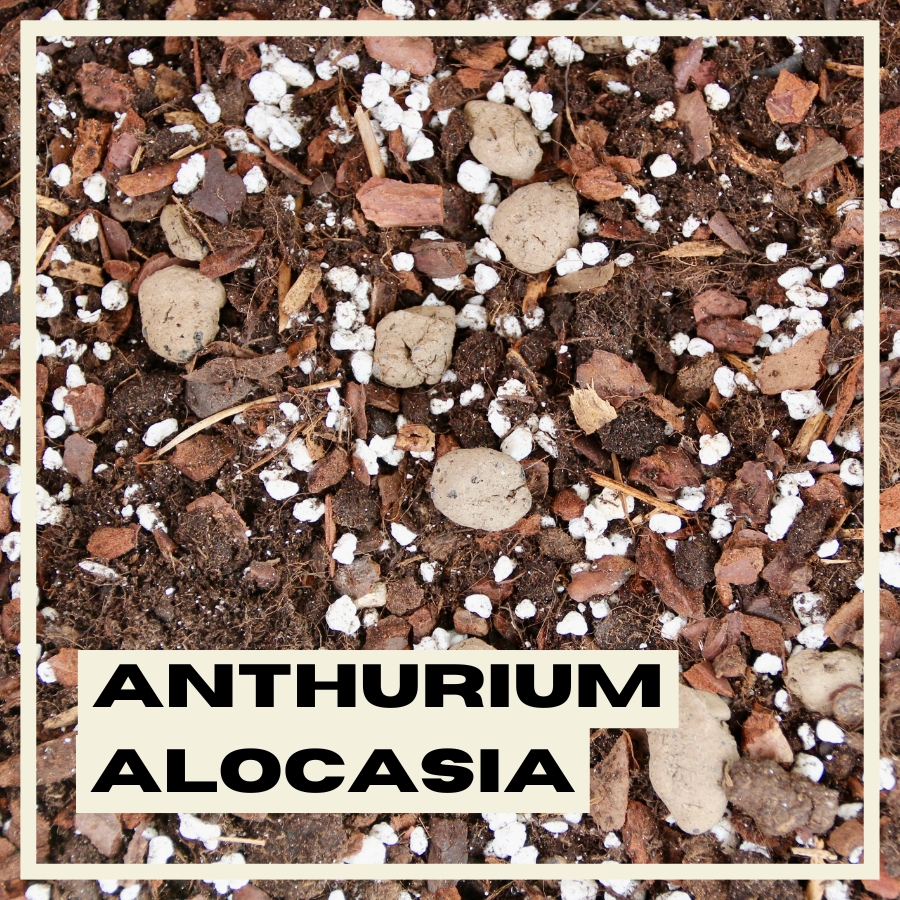
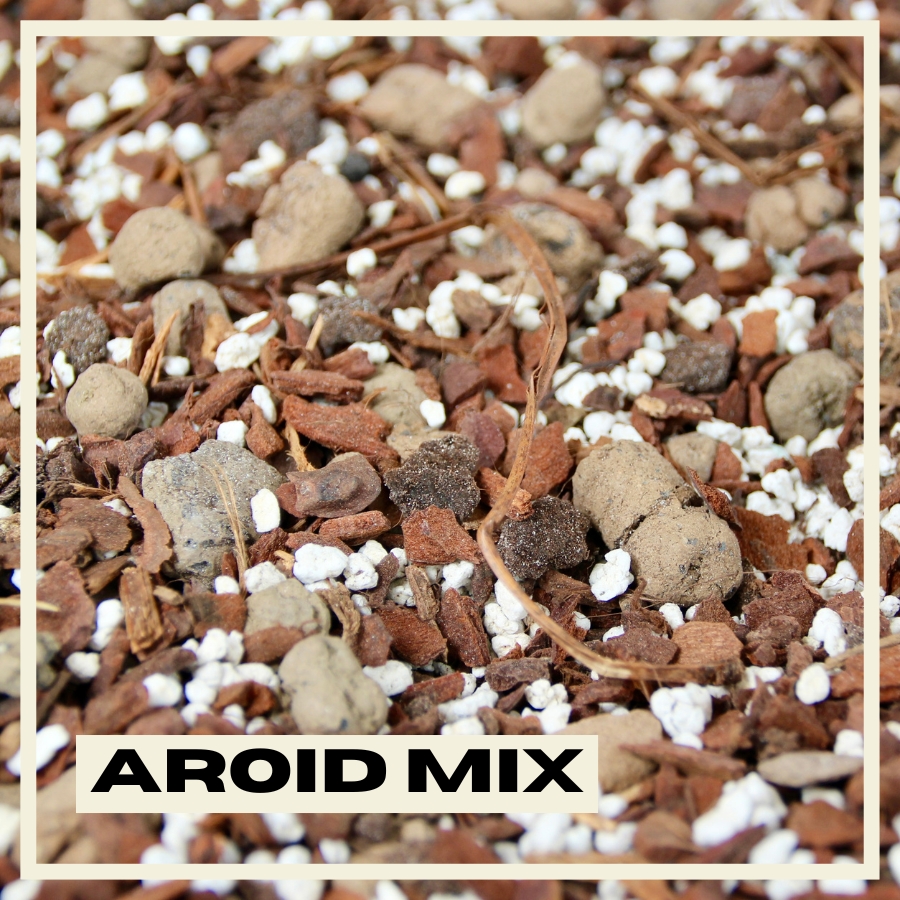
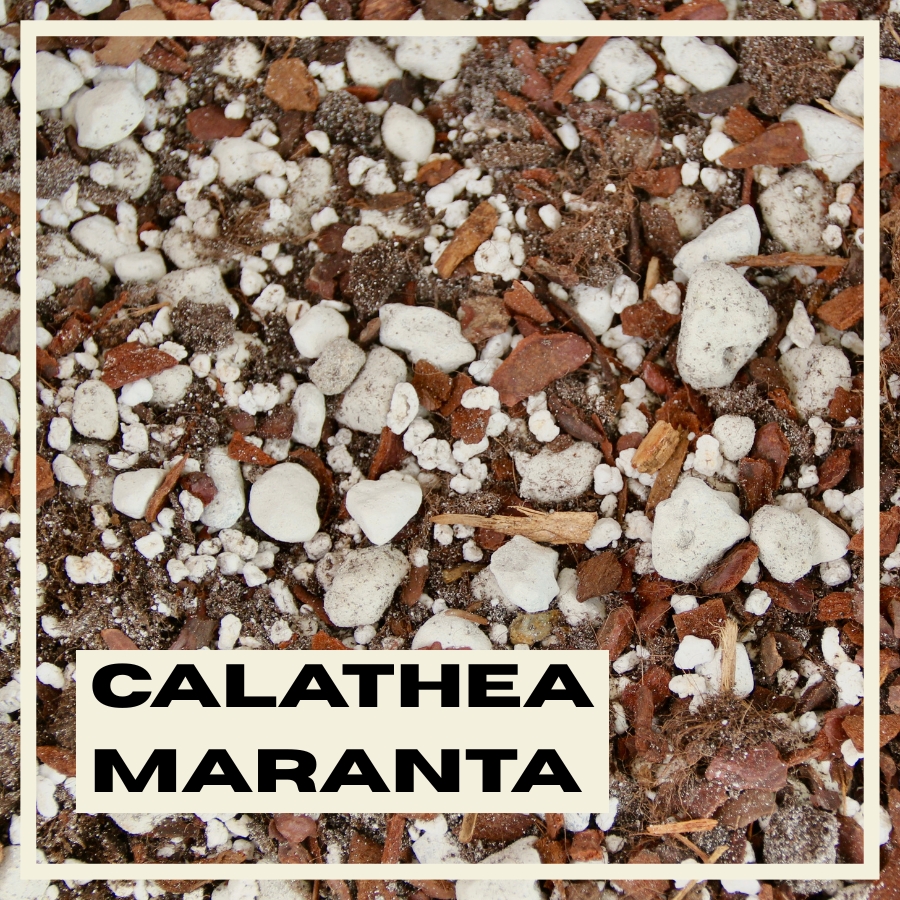
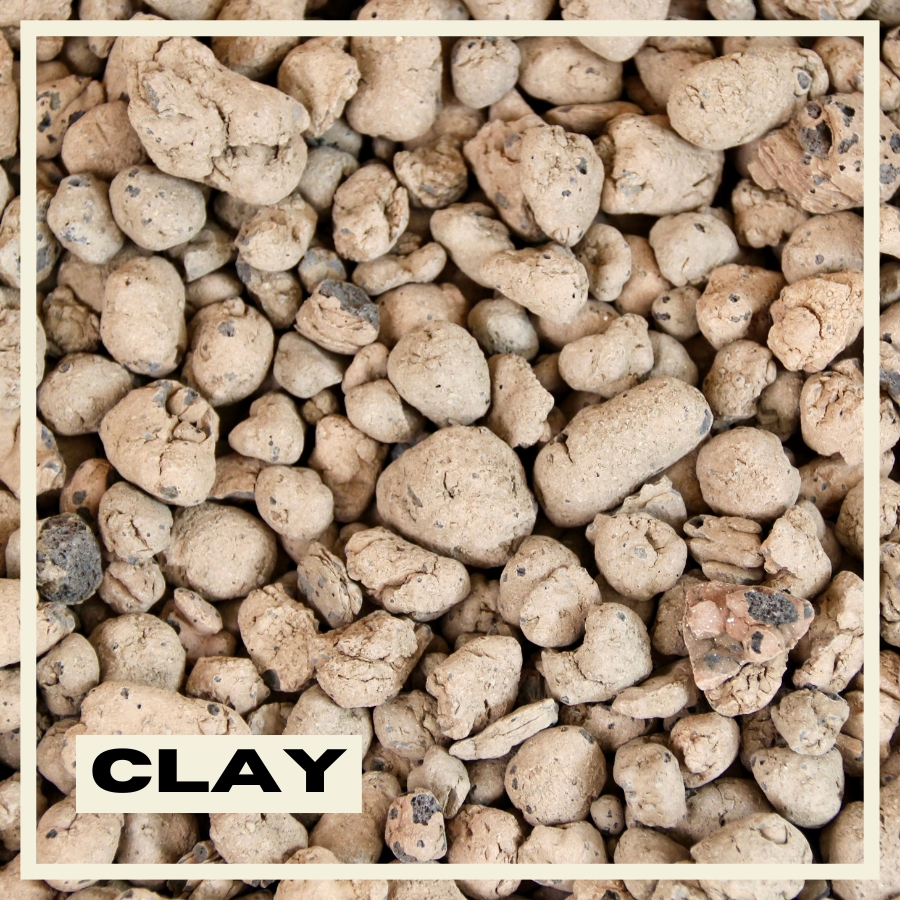
Repotting is an excellent time to upgrade your soil. Rather than using a universal mix for every plant, select a substrate tailored to your plant’s natural environment. Airy, moisture-retentive mixes are ideal for rainforest species like Aroids and Calatheas. They combine organic materials with structural elements such as pine bark, perlite, pumice and zeolite. These additions keep the mix open and breathable, giving roots access to oxygen while holding enough moisture and nutrients. PlantNest offers specialised mixes for Aroids, Monsteras and Philodendrons, Anthuriums and Alocasias, and Calatheas and Marantas. Each blend uses premium ingredients such as pine bark, perlite, expanded clay and pumice to balance drainage and moisture for specific plants.
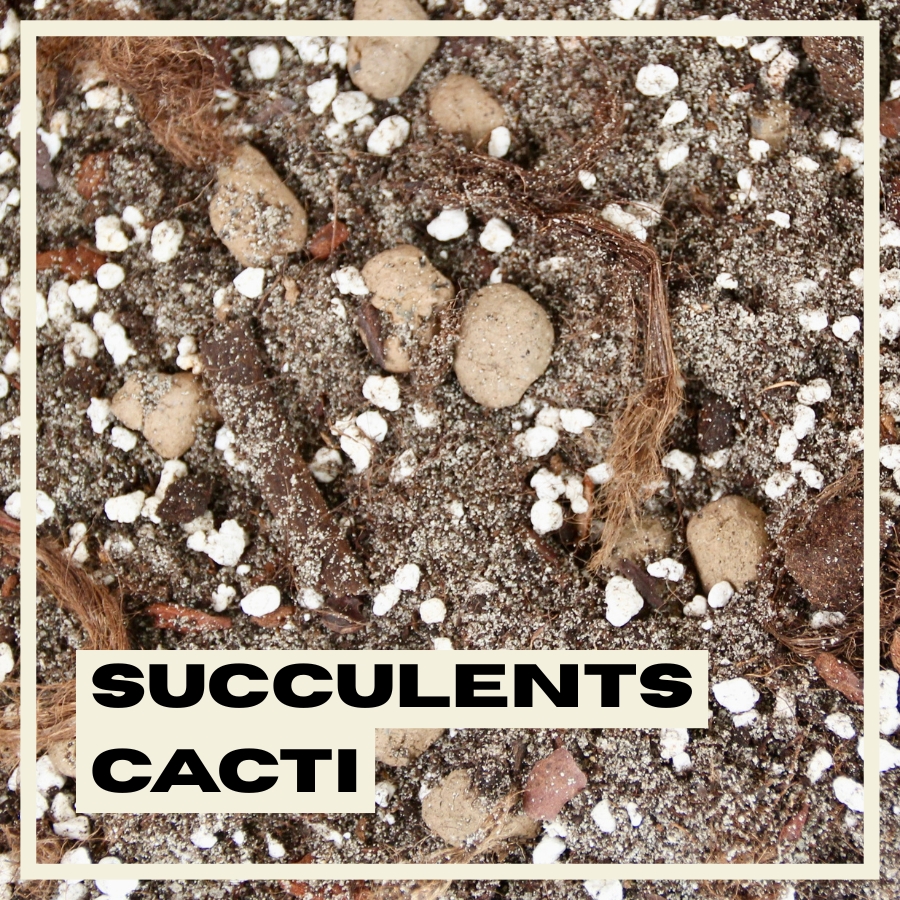
Desert plants such as cacti and succulents prefer mineral-based substrates with quick drainage. A combination of coarse sand, perlite, and expanded clay or lava rock allows water to run through easily, preventing the soggy conditions that cause root rot. PlantNest’s Cacti & Succulent Mix uses sand, perlite and expanded clay to support rapid drainage and stable root health.
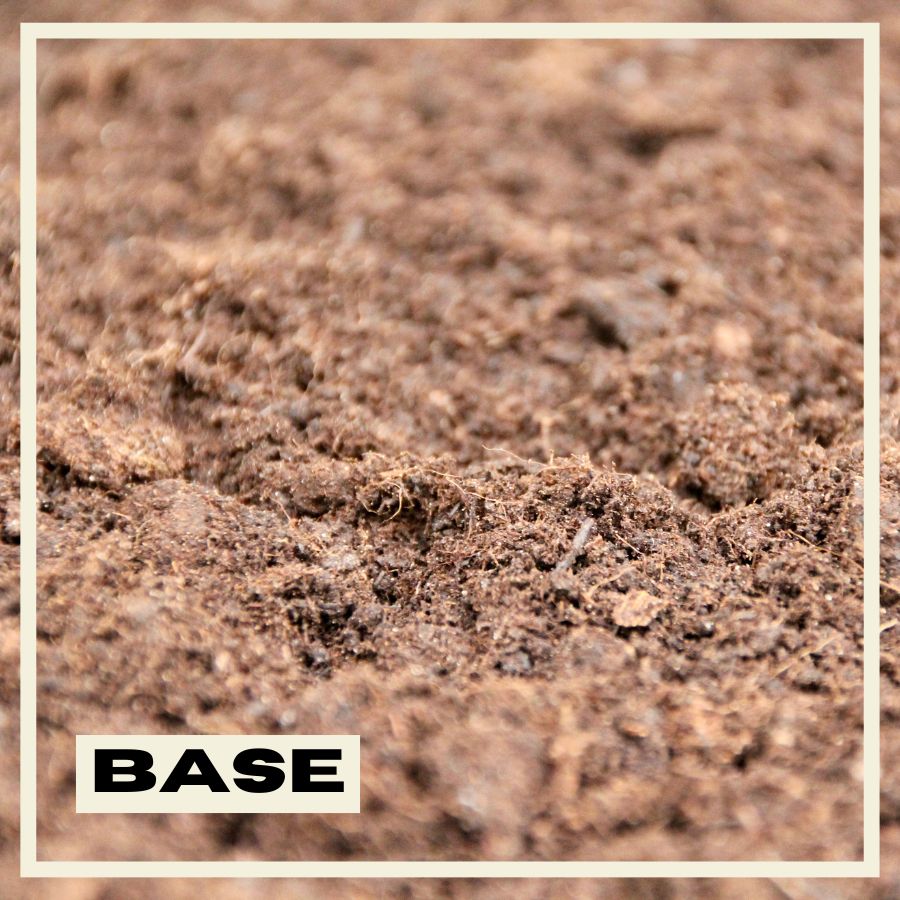
No matter what type of plant you are growing, fresh soil revitalises the root zone. When repotting, discard old soil if it’s clearly exhausted or the wrong type for the plant. Reusing old soil can reintroduce pests or diseases and does not provide the structure and nutrients your plant needs.
What you need for repotting
Before you begin, gather the necessary tools and materials. Having everything at hand keeps the process smooth and stress-free:
- Plant: The specimen ready for a new start.
- Pot: 2–4 centimetres wider than the current pot, with drainage holes. If you use a decorative cover pot, keep the plant in a nursery pot for better drainage.
- Fresh soil: A high-quality mix suited to your plant’s species.
- Workspace protection: A tarp, tablecloth or large trash bag to catch spilled soil.
- Optional tools: Gloves, pruning shears for trimming dead roots, and a small trowel or scoop.
Having a container of lukewarm water and access to a faucet makes the final watering step easier.
Step-by-step repotting guide
Repotting doesn’t need to be complicated. Follow these steps to refresh your plant’s soil and help it thrive in a new pot:
Step 1: Prepare and remove the plant
Lay out your tools, soil, and pot on a protected surface. Water the plant lightly a day or two before repotting to make the root ball easier to work with. Gently turn the plant sideways and support the base while sliding it out of its old pot. If roots cling to a plastic nursery pot, squeeze the sides or tap around the rim to loosen the soil. Avoid pulling the plant by its stem; support the root ball to minimise stress.
Step 2: Evaluate and loosen roots
Inspect the root system for signs of health. Healthy roots are firm and light-coloured. Dark, mushy or rotten roots indicate problems. Carefully loosen circling roots so they do not continue spiralling in the new pot. This encourages the plant to anchor into fresh soil. Trim any dead or damaged roots with clean scissors or pruning shears. Remove old soil if it’s the wrong type or infested, but keep some of the existing mix around the roots if it’s still suitable.
Step 3: Prepare the new pot
Add a base layer of fresh mix to the bottom of the new pot. The thickness depends on the plant’s root mass. Aim to position the crown of the plant (the point where stems meet the roots) at the same soil level it was growing before. Leave a small gap at the top of the pot to prevent water from spilling over the rim when watering.
Step 4: Set and fill up
Create a pocket in the soil, place the plant in the centre and gently backfill around the roots. Hold the plant upright and add soil evenly around the root ball. Lightly press the mix to eliminate large air pockets, but do not compact it hard. Leave space at the top for watering and ensure the crown sits at soil level. If the plant leans, add soil on one side and lightly press again until it feels stable.
Step 5: Water thoroughly
Once the plant is positioned, water thoroughly until moisture flows out of the drainage holes. This helps settle the soil around the roots and encourages new roots to grow outward into the fresh mix. Allow all excess water to drain away before placing the plant back in its decorative cover pot or returning it to its original location. Avoid leaving the pot in standing water; this negates the benefits of good drainage.
Aftercare: Feeding and watering
After repotting, plants may need a short adjustment period. They will not immediately resume vigorous growth. Top dressing with worm castings on the soil surface provides a gentle source of nutrients during this transition. Unlike synthetic fertilizers, worm castings release nutrients slowly and support beneficial soil microbes. You can also wait a few weeks and then begin feeding with a balanced liquid fertilizer at half strength.
Watering after repotting should follow a consistent routine. Use the “soak and dry” method: water thoroughly, allow excess to drain, and then let the top few centimetres of soil dry before watering again. This prevents overwatering while still keeping the mix evenly moist. For plants that prefer more consistent moisture, reduce the drying period between waterings.
Avoid direct sunlight immediately after repotting, which can stress the plant. Place the plant in bright, indirect light until you see new growth. Keep the humidity stable and avoid drastic temperature changes.
Troubleshooting common issues
Even with a careful repotting process, plants can sometimes show stress. Here are a few common problems and how to address them:
- Drooping leaves: Mild wilting is normal while the plant adjusts. Keep the soil evenly moist (but not wet) and provide bright but indirect light. Avoid fertilizing during the first weeks after repotting.
- Leaf yellowing: Yellow leaves can result from overwatering or a lack of nutrients. Ensure the pot has proper drainage and water only when the top of the soil has dried. If your plant is prone to drought stress, be careful not to underwater after repotting.
- Root rot: If you notice a foul smell, black or mushy roots, the plant may be suffering from root rot. Remove the plant from the soil, cut away diseased roots and repot in a fresh, well-draining mix. Check watering practices and ensure the pot has adequate drainage.
If your plant continues to decline, double-check that the mix you used matches its natural habitat. Some species require specific moisture levels and soil structures to remain healthy.
Additional tips for successful repotting
- Take your time: Repotting is not a race. Work slowly and carefully to avoid damaging roots or stems.
- Maintain soil level: Keep the crown of the plant at the same height it was previously growing.
- Leave watering space: Do not fill the pot to the brim. Leave space for water to collect before it drains.
- Use quality potting mix: Choose a high-quality mix that matches your plant’s natural environment. PlantNest’s ranges make this easier by matching blends to plant families.
- Repot regularly: Refreshing the soil every 12–18 months maintains healthy roots and supports steady growth.
Conclusion: Repotting is a renewal
Repotting may seem daunting at first, but it is a renewal process for your houseplants. It provides fresh soil, new space, and an improved environment for roots to grow. By choosing a pot with drainage, selecting the right mix, and following a gentle repotting procedure, you set your plant up for success. Regularly repotting every year or two ensures that the soil stays airy and nutritious, preventing many of the problems associated with compacted, exhausted mixes. High-quality, plant-specific substrates like PlantNest’s blends simplify the process by matching the mix to your plant’s needs.
When done correctly, repotting is an act of care that your plants will reward with robust growth, vibrant leaves and a longer, healthier life. With this beginner-friendly guide, you have everything you need to repot confidently and watch your plants thrive.
Products by Category
-

Monstera & Philodendron growing kit
Price range: 9,90 € through 15,90 € -

PlantNest Anthurium & Alocasia soil mix
Price range: 6,90 € through 12,90 € -
PlantNest Aroid soil mix
Price range: 6,90 € through 12,90 € -
PlantNest Base soil
Price range: 4,90 € through 6,90 € -
PlantNest Cacti & Succulent soil mix
Price range: 6,90 € through 12,90 € -
PlantNest Calathea & Maranta soil mix
Price range: 6,90 € through 12,90 € -
PlantNest Carnivorous soil mix
Price range: 6,90 € through 12,90 € -
PlantNest Expanded clay
Price range: 5,90 € through 11,90 € -
PlantNest Fern soil mix
Price range: 6,90 € through 12,90 €